The ASRock X299 Taichi Motherboard Review
by Joe Shields on October 31, 2017 8:00 AM EST- Posted in
- Motherboards
- Intel
- ASRock
- SLI
- CrossFire
- Taichi
- X299
- Skylake-X
- Kaby Lake-X
BIOS
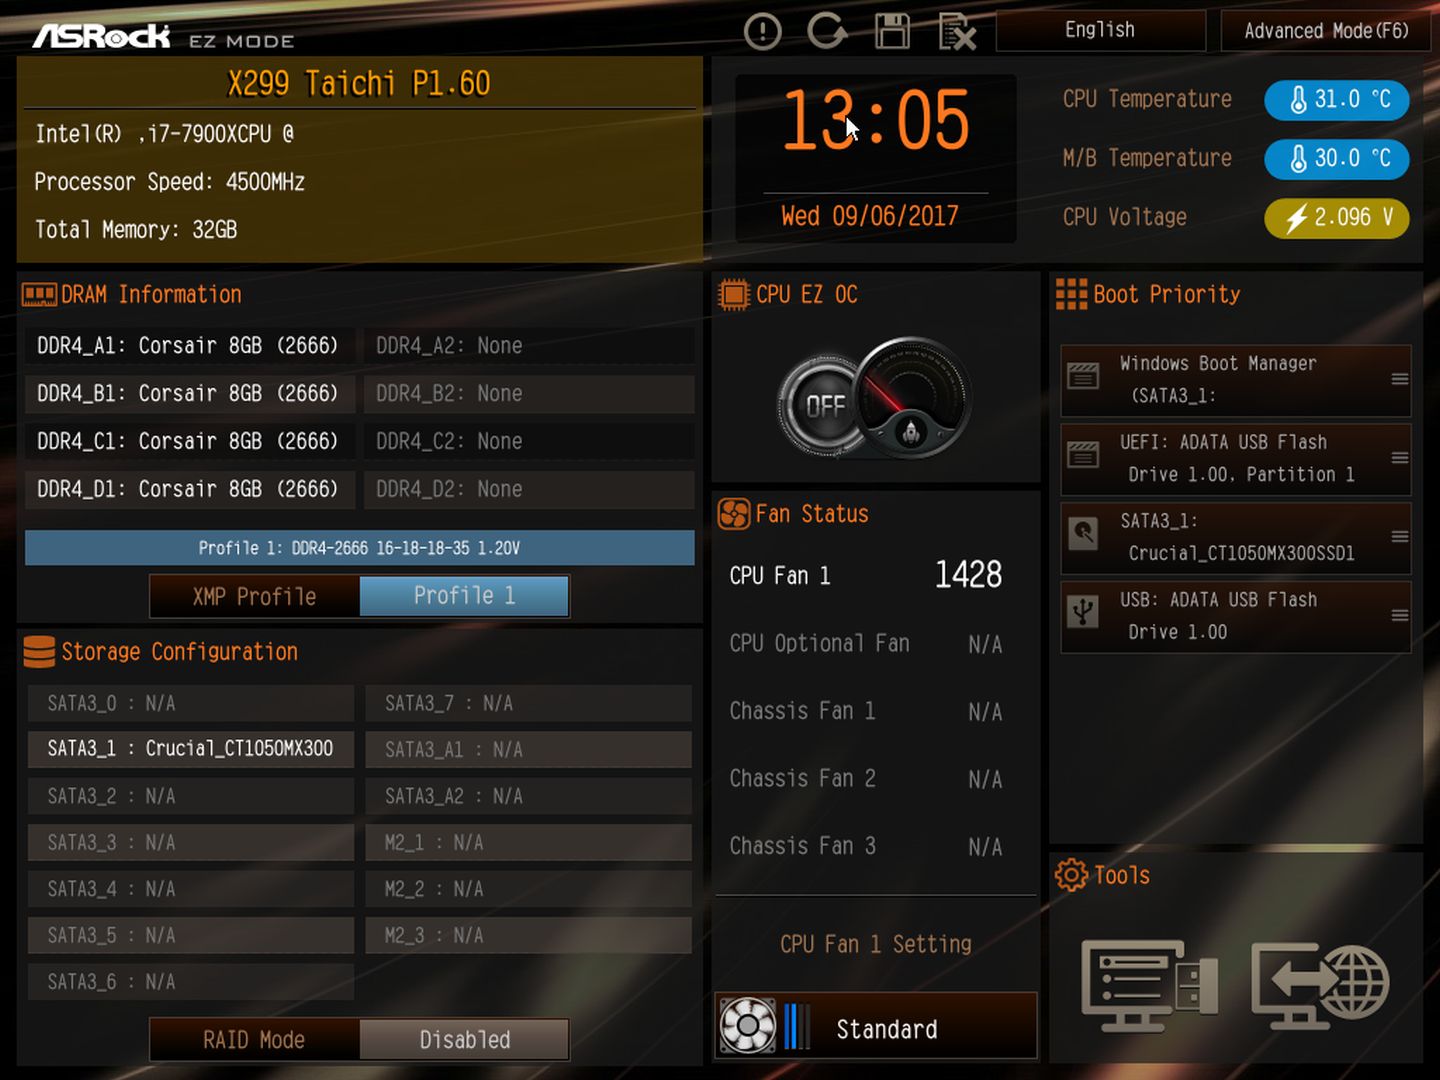
The UEFI for the ASRock X299 Taichi is similar to the Gaming i9 in overall layout. Users are presented with the Advanced BIOS upon booting the system which gives access to all the options available to monitor and change. There is also an EZ Mode that gives a more simplified system status view while allowing some changes to be made. We can see CPU type and speed, total RAM installed, CPU and motherboard temperatures, fan status, boot priority, FAN-Tastic tuning options, and a BIOS flash utility. F6 is used to toggle between EZ Mode and Advanced Mode.
From Easy Mode, users can enable XMP profiles, change boot priority, configure storage for RAID modes, and change pre-configured fan profiles. Beyond that, Advanced Mode will need to be used.
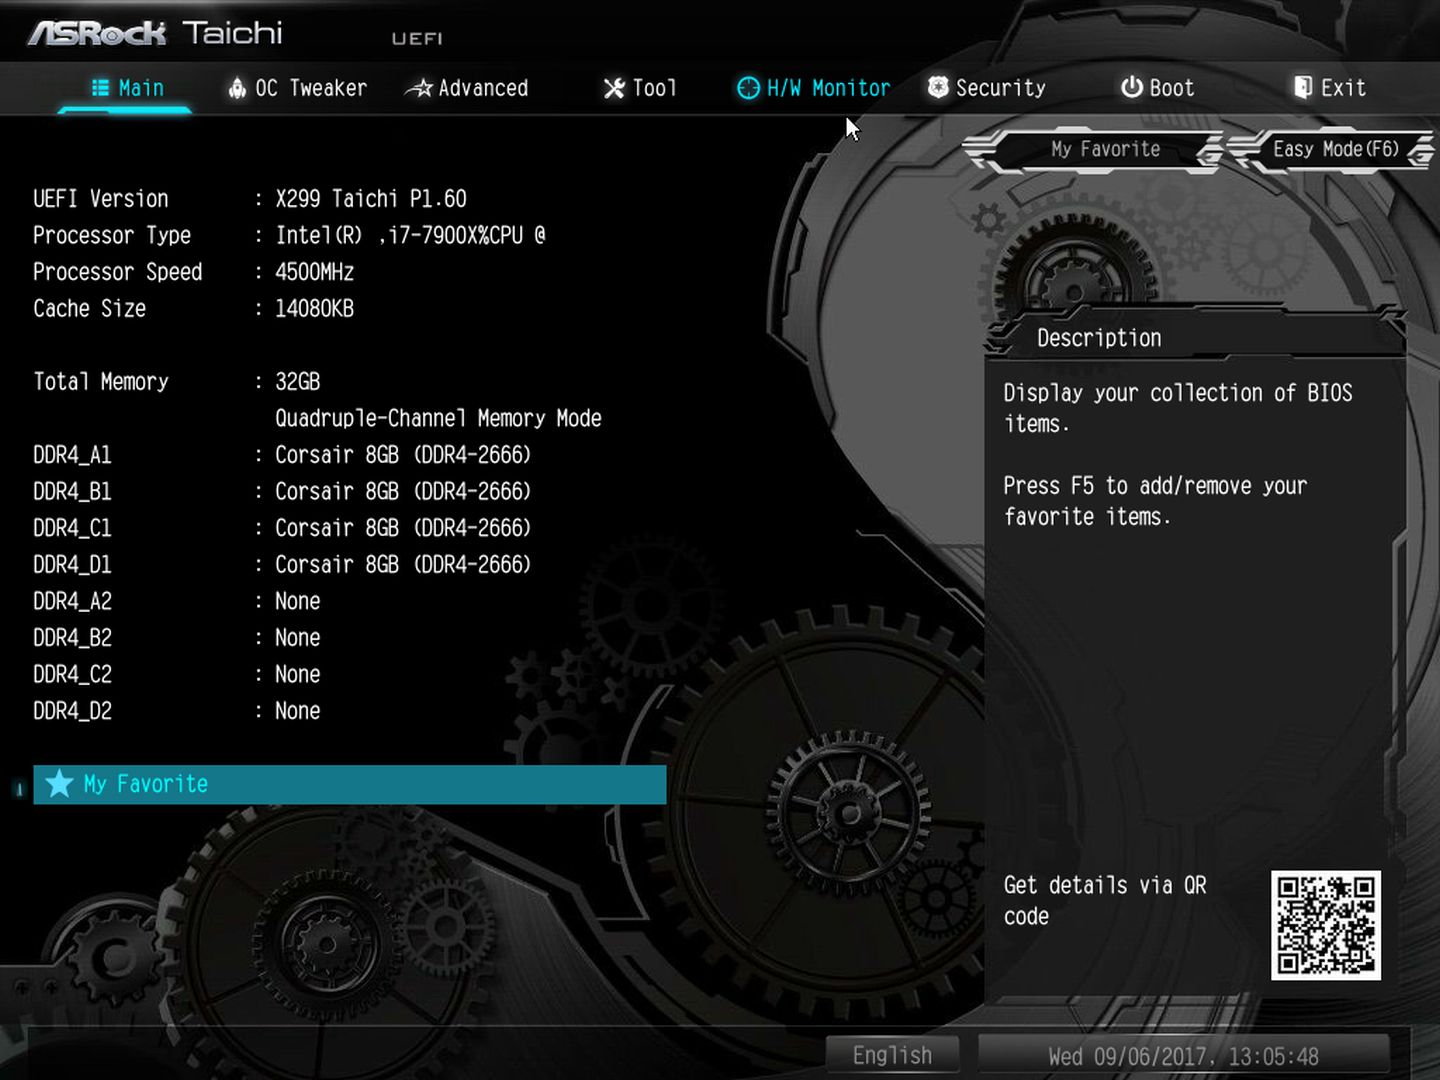
Our first picture of Advanced mode shows an aesthetic difference between the Taichi and Gaming i9. Here the main colors are black and a lighter blue with more of the cog/gearing images in the background. The menu is the same at the top starting with Main, OC Tweaker, Advanced, Tool, H/W Monitor, Security, Boot, and Exit. The default landing page is still Main by default. This screen shows the UEFI version, processor statistics, and will show which memory slots are populated or unpopulated with the type of RAM installed. At the bottom of the screen is the My Favorites option allowing users to customize their UEFI options of choice in one location. Simply go to the screen and press F5 to add it.
The OC Tweaker section is where we find the overclocking options for the CPU, DRAM, Voltage, and FIVR. In the CPU Configuration section are editable functions for CPU Ratio, BCLK, Mesh, and many other CPU associated options, most of which can remain on auto. The DRAM section users can enable XMP profiles, adjust the memory multiplier, adjust the four primary memory timings, as well as dozens of other memory timings. The Voltage Configuration section is where the major voltage options are housed. Items like CPU input voltage (main voltage for the IVR), CPU Load-Line Calibration, System Agent and I/O voltage for the memory controller, and voltage to each pair of DRAM channelasdfds are able to be adjusted. The FIVR Configuration sections gives control over the primary voltage heading into the processor. Users can change the Vcore voltage mode (adaptive or override), CPU Mesh voltage, and other voltage offsets are found under this heading.

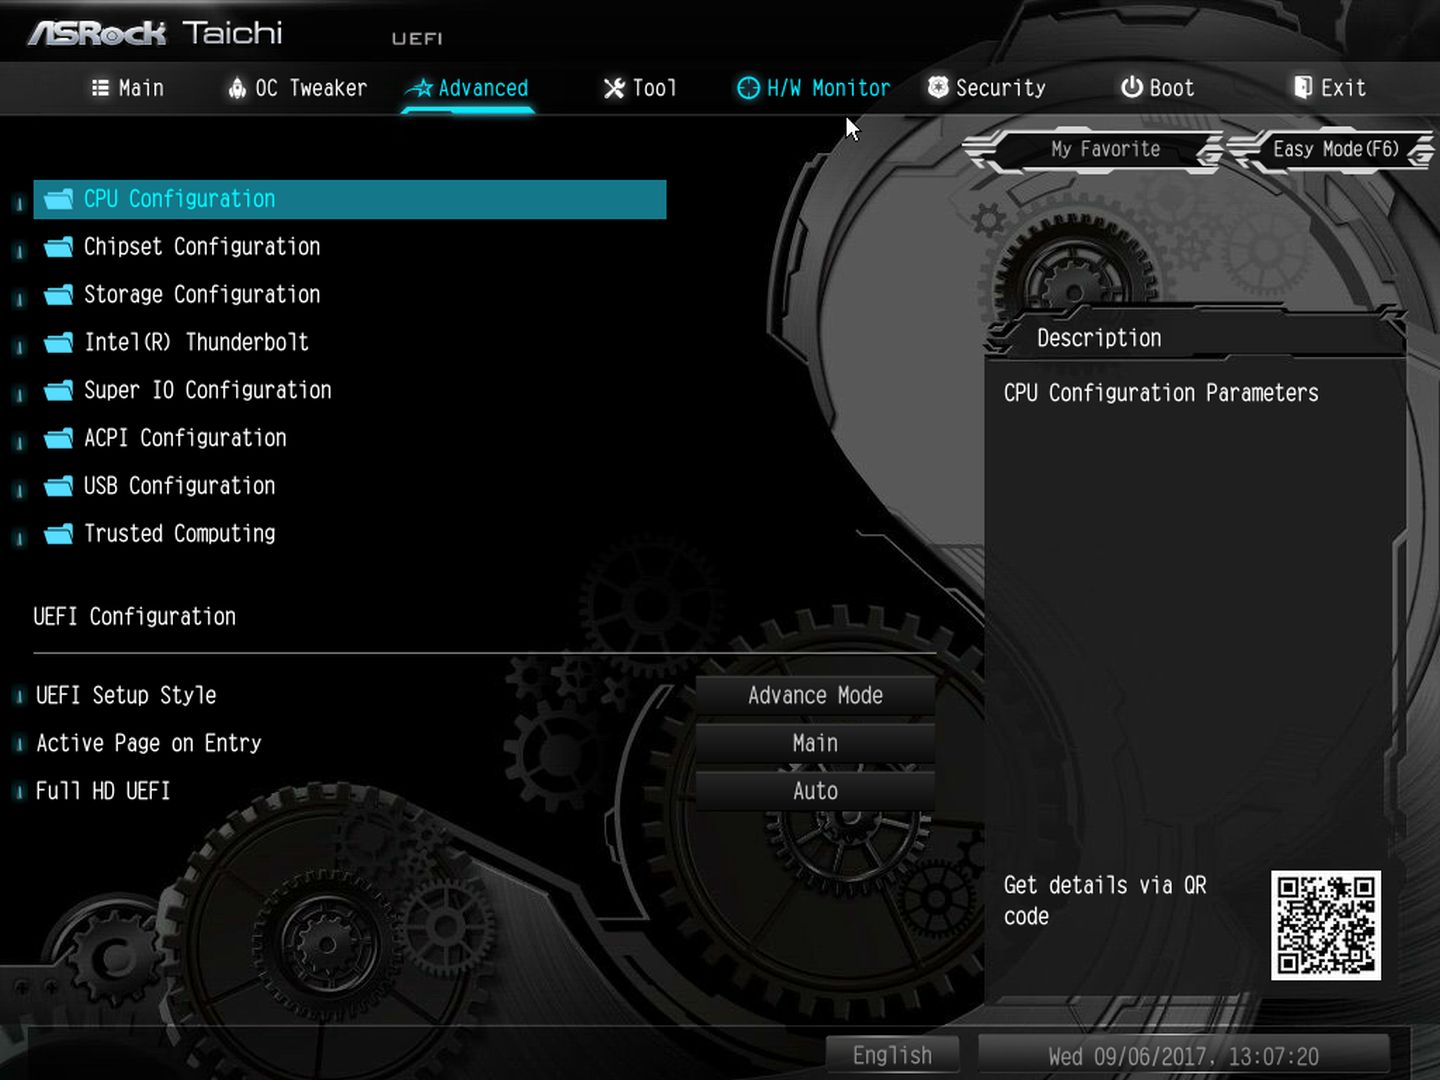
That Advanced section of the X299 Taichi displays a list of folder/sub-menus each having multiple adjustable options to the subsystems of the motherboard. This gives users control over the CPU and Chipset configurations, Storage, and USB among many other options. The Tool tab houses many features such as RGB LED to set the RGB lighting, an Easy RAID installer for quickly setting up RAID arrays, and UEFI utilities for flashing the BIOS either by local USB or via the internet. There is also an option for securely backing up the UEFI.
The H/W Monitor section displays live readings of temperature sensors, fan speeds, and voltages. Further down the page, past the temperature/fan/voltage monitoring, is where we find the area to adjust the fan and pump headers on the board. It is auto-sensing so it should be just a set speeds and or thresholds and go situation.

Passwords at the BIOS level can be set in the Security section, while the boot section covers most anything that touches the boot process including boot order, fast boot, and legacy booting options.


Software
The motherboard comes with a DVD driver disc holding all the drivers a user needs to get started. It also includes Google freeware, Chrome and Google Toolbar. The disc is always a good place to start, but we recommend getting the latest drivers from the website or through the ASRock App Store.

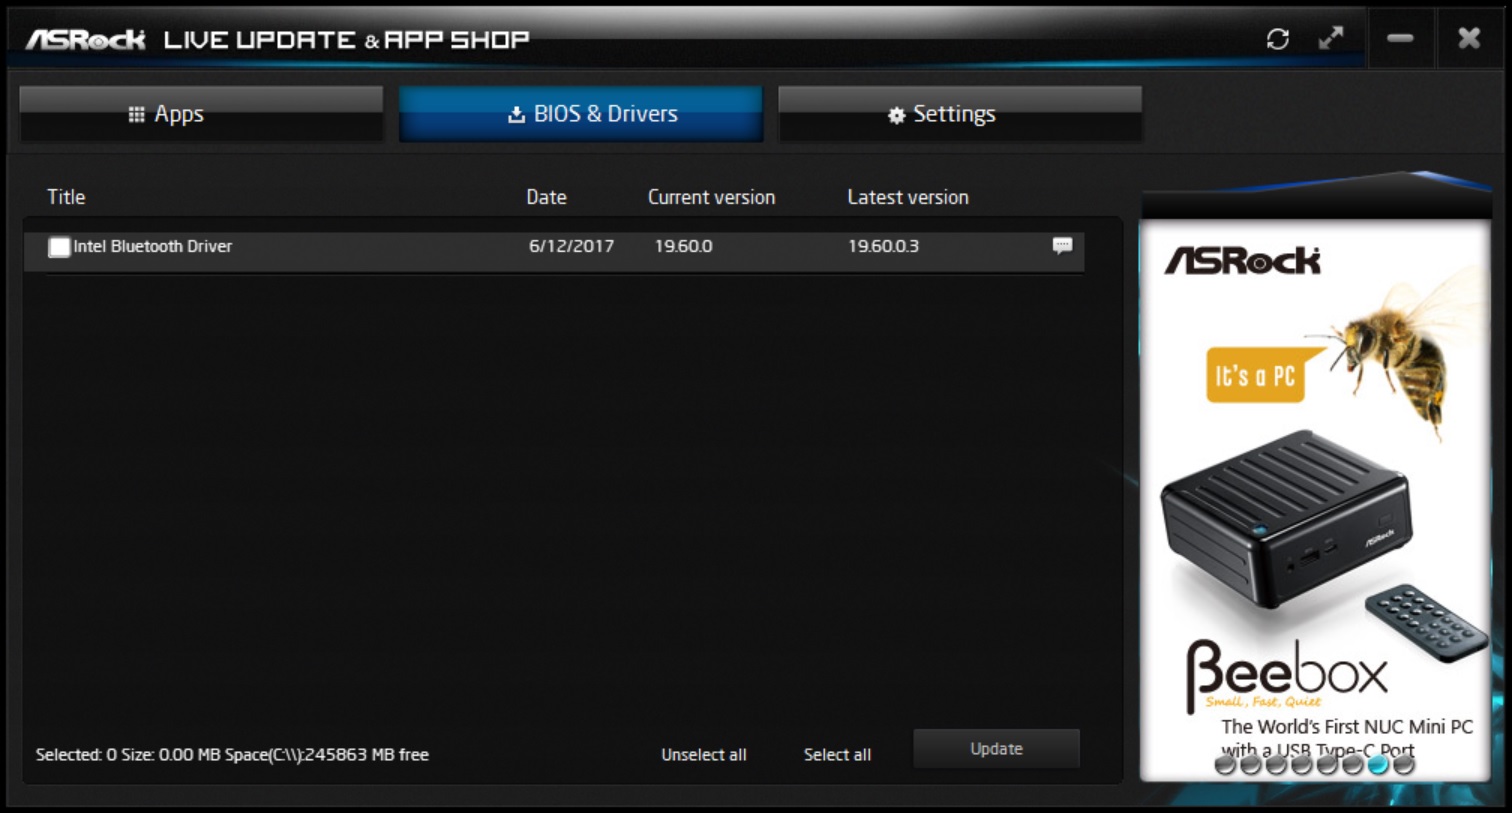
ASRock App Store
The App Store application is ASRocks one stop live update app shop. The Apps section has software downloads for Purity Sound 4, ASRock RGB LED utility, and other sponsored downloads and games. The BIOS and drivers section displays a list of drivers which are not up to date. The difference between this screenshot and the other in the Gaming i9 review is I captured these after I installed the drivers. So only the Intel Bluetooth driver was left to update and displayed.
A-Tuning
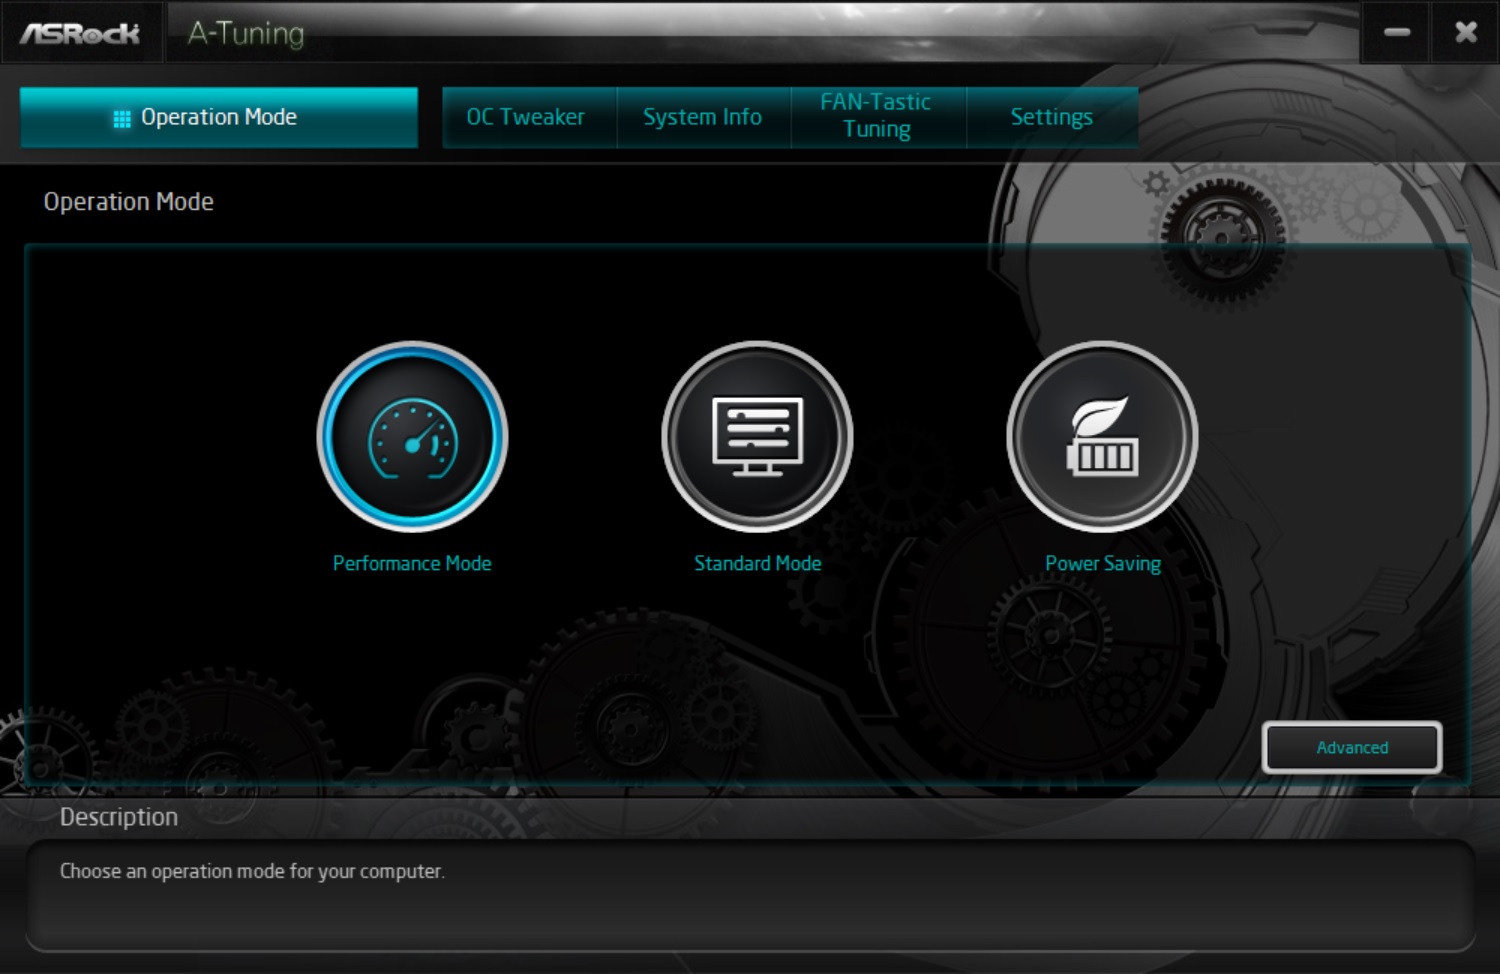
A-Tuning is ASRock's non-Gaming tuning software. For 'operation', there are preset modes to choose from; Performance, Standard (default), and Power Savings. These options change power saving and turbo modes, but do not overclock the system. If manual overclocking is desired, click on the OC Tweaker section. Here users are able to control the major options for overclocking including CPU and BCLK ratios, and multiple voltage controls. The System Info section displays informative details on the CPU speed including BCLK and CPU Ratio, Fan speeds and temperatures, as well as voltages. Also included with A-Tuning is their FAN-Tastic Tuning section where motherboard connected fans can have their fan curves adjusted from within windows.
ASRock RGB LED
ASRock's RGB LED gives control over the onboard lighting. The display shows a top-down view of the board and each adjustable LED section on the board. In this case, we have options for under the chipset heatsink and the two headers for external RGB LEDs. Color changes are handled by the circular wheel they have along with fine adjustments via the square in the middle. For effects, there are several modes to choose from including static, strobe, breathing, music, etc.

Realtek Audio
Outside of the Realtek Audio, there isn't a specific piece of software for the Taichi. The Taichi has ASRock's 'Purity Sound 4' audio package, but this is an ecosystem of hardware, including the codec, headset amplifier, PCB isolation and more. Installing the Realtek software does give access to audio controls including an equalizer, DTS surround processing and other pre-defined sound environments.


17 Comments
View All Comments
UltraWide - Tuesday, October 31, 2017 - link
I love the PCIe lane chart, so simple and effective!hansmuff - Tuesday, October 31, 2017 - link
"Gaming is still a primary use on most motherboards and though 'Gaming' isn't in the Taichi's name, it keeps the same PCIe slot spacing, configuration, and slot protection as the Gaming i9, making the setup for multi-GPU configurations."I think you may have skipped a word :)
hansmuff - Tuesday, October 31, 2017 - link
And I replied to the wrong post. Oh well!Joe Shields - Wednesday, November 1, 2017 - link
Updated Yesterday. Good catch! Thank you!peevee - Tuesday, October 31, 2017 - link
"10 SATA ports"Why?
peterfares - Wednesday, November 1, 2017 - link
Yeah not sure why they're bothering with the controller to add the two extra.I guess some people need that many. Must want a lot of hard drives but not have them be externally connected through a NAS or other storage server.
jabber - Wednesday, November 1, 2017 - link
There will always be people that want to run the wrong hardware for the wrong job. Let them get on with it I say.ikjadoon - Tuesday, October 31, 2017 - link
I think this may have been left in body style instead of subheader style, on the overclocking page:Overclocking Results
Joe Shields - Tuesday, October 31, 2017 - link
Updated where needed. Thanks!Qasar - Tuesday, October 31, 2017 - link
so even with a 44 lane cpu, PCIe slot 5 has no connection ?? example.. vid card in Slot 1, sound card in slot 4, the x4 slot, so where would say a raid card go ?? slot 3 or slot 5?????