The Battle of Bay Trail-D: GIGABYTE J1900N-D3V and ASUS J1900I-C Reviewed
by Ian Cutress on October 17, 2014 10:00 AM ESTGIGABYTE J1900N-D3V BIOS
The J1900N-D3V BIOS we tested with reverts back to the ‘old-school’ blue text on grey background scenario. This means that GIGABYTE has not decided to integrate this board with a graphical UEFI and is instead using a textual one, although from the ASUS BIOS later in the review we can confirm that a graphical BIOS is at least possible. Having tested a few pre-production motherboards recently, it is clear that this is the type of basic graphical BIOS that the manufacturer receives from AMI before the manufacturer integrates their own interface on the top of it. It would seem that GIGABYTE does not have that simple ‘everything works’ interface that can be easily applied.
The first screen on entry is the Main tab, offering important information such as the motherboard model, the BIOS version and the DRAM installed. Naturally we would prefer other information, such as the CPU, CPU temperature, CPU frequency, a per-slot report of the DRAM as well as voltages and timings.
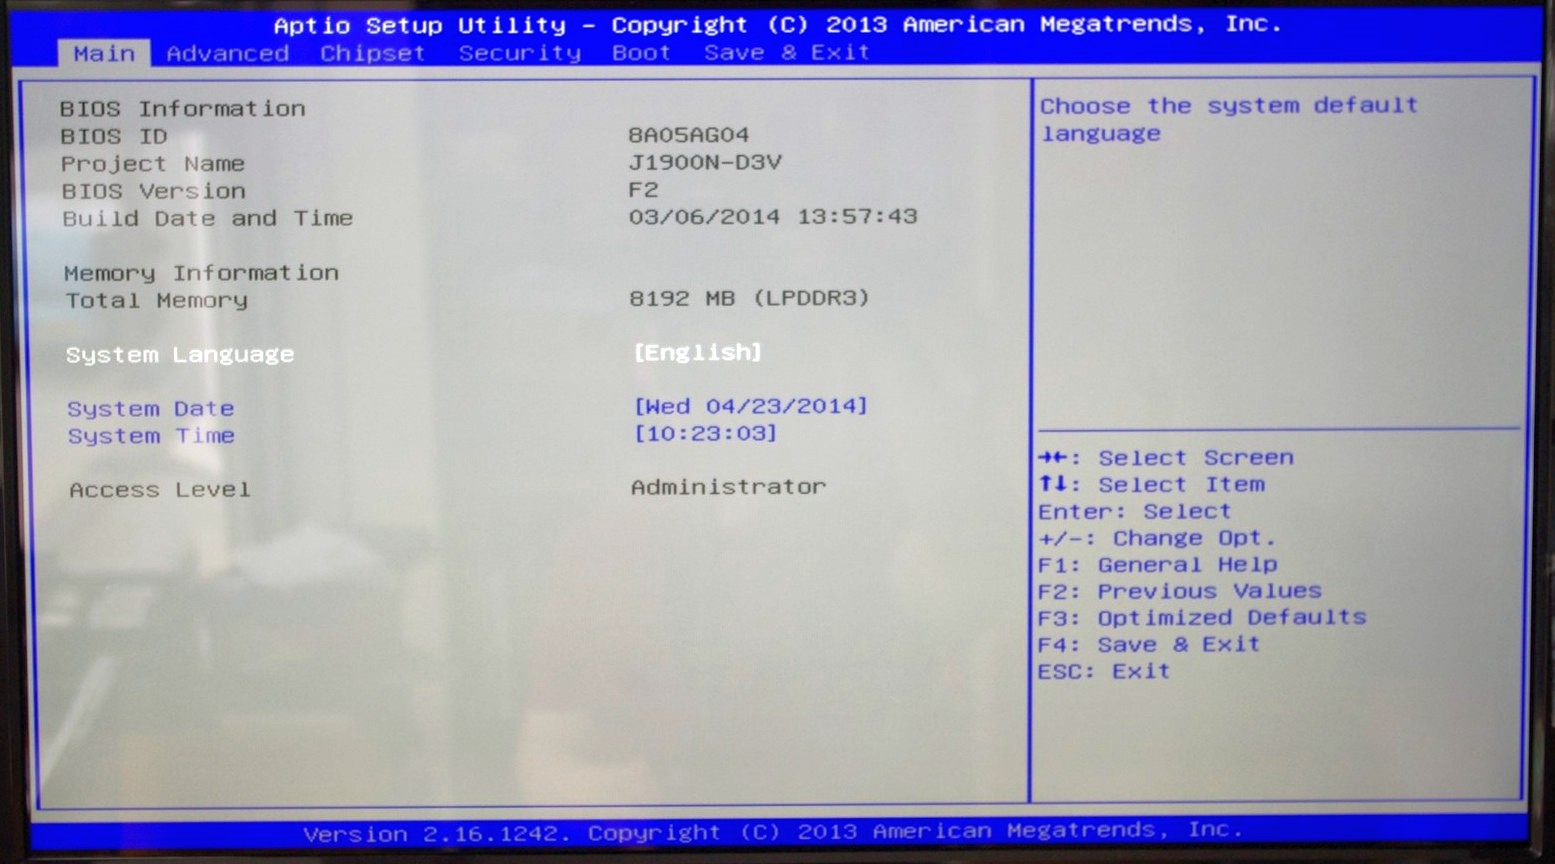
Apologies for the image quality – we were unable to ascertain if a ‘print screen’ situation exists for this BIOS, although in a later review we know Aptio V does integrate this functionality in higher-end chipsets.
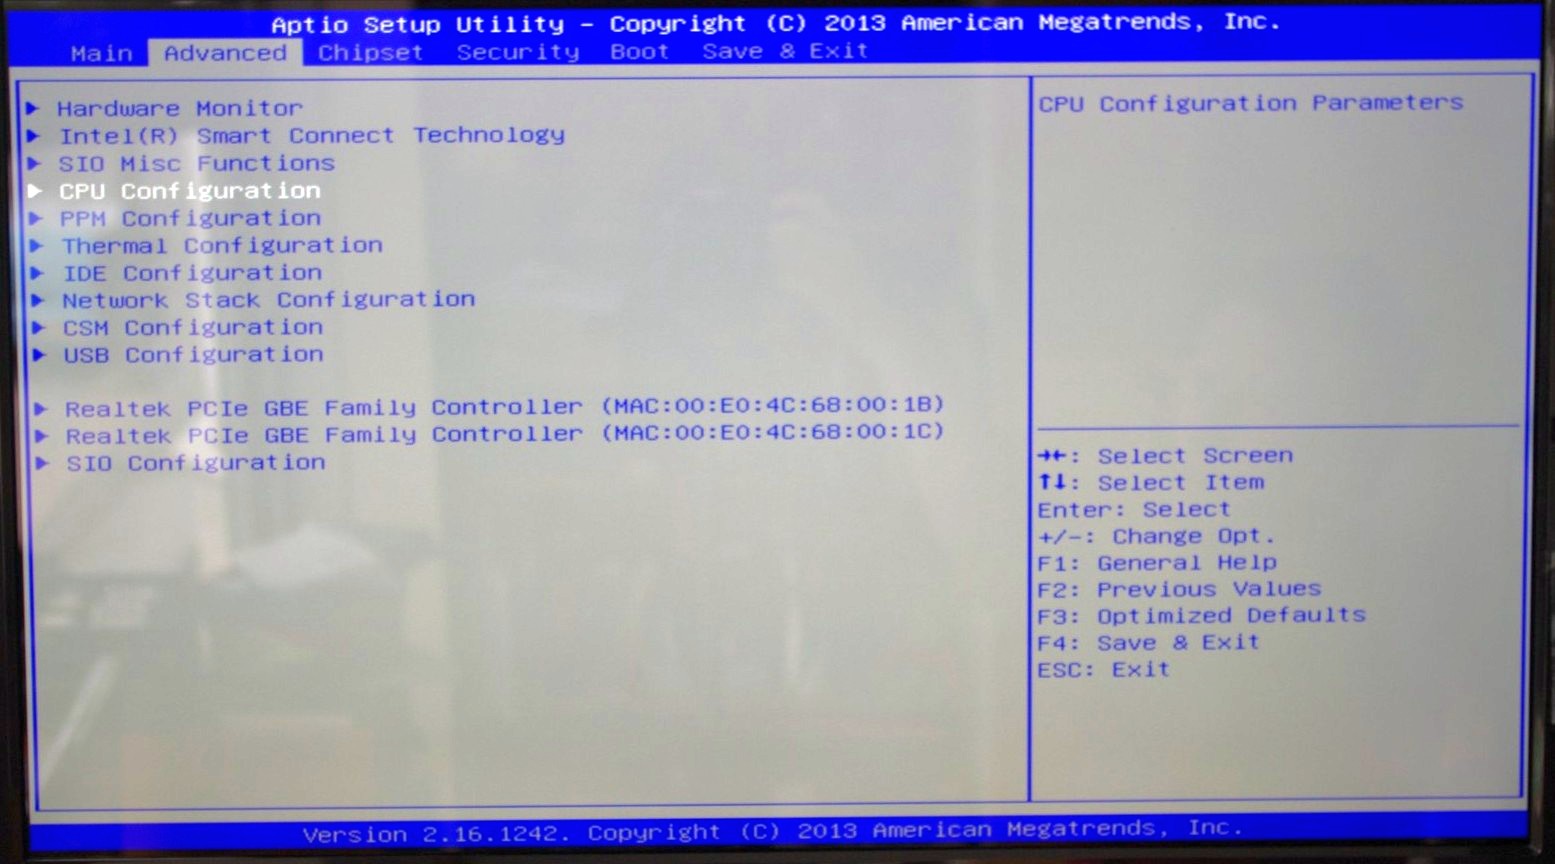
The BIOS is split into several main tabs and the Advanced tab features most of the more technical options.
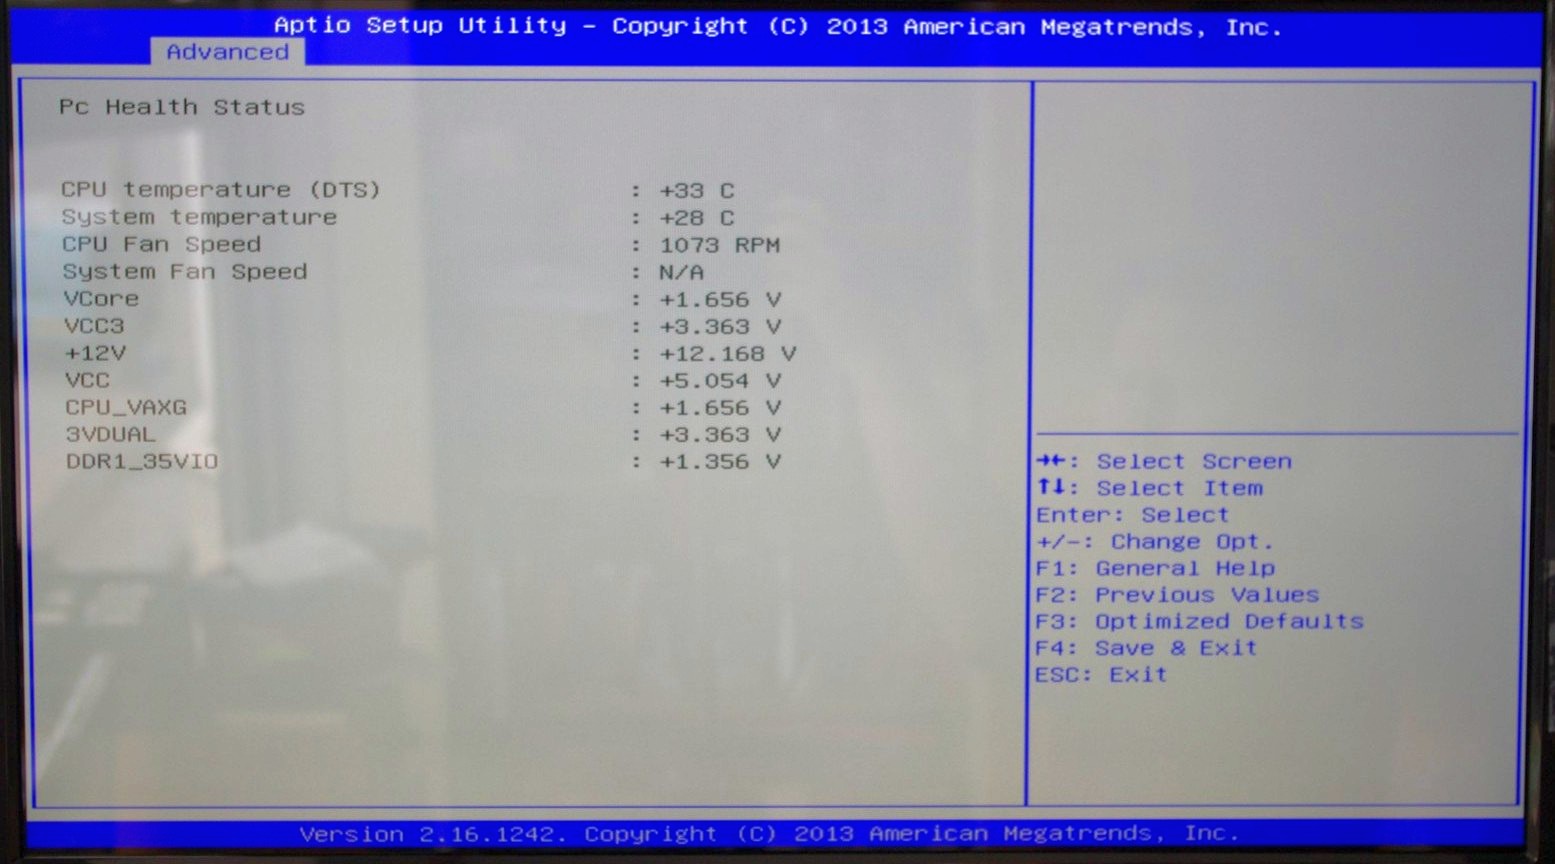
The Hardware Monitor option gives a rundown of the temperatures, fan speeds and voltages available to the system for monitoring:
Smart Connect Technology is disabled by default in the BIOS, and the CPU is set up for Energy Efficient usage by default:

Information about the CPU is found in this menu via the ‘Socket 0 CPU Information’ option.
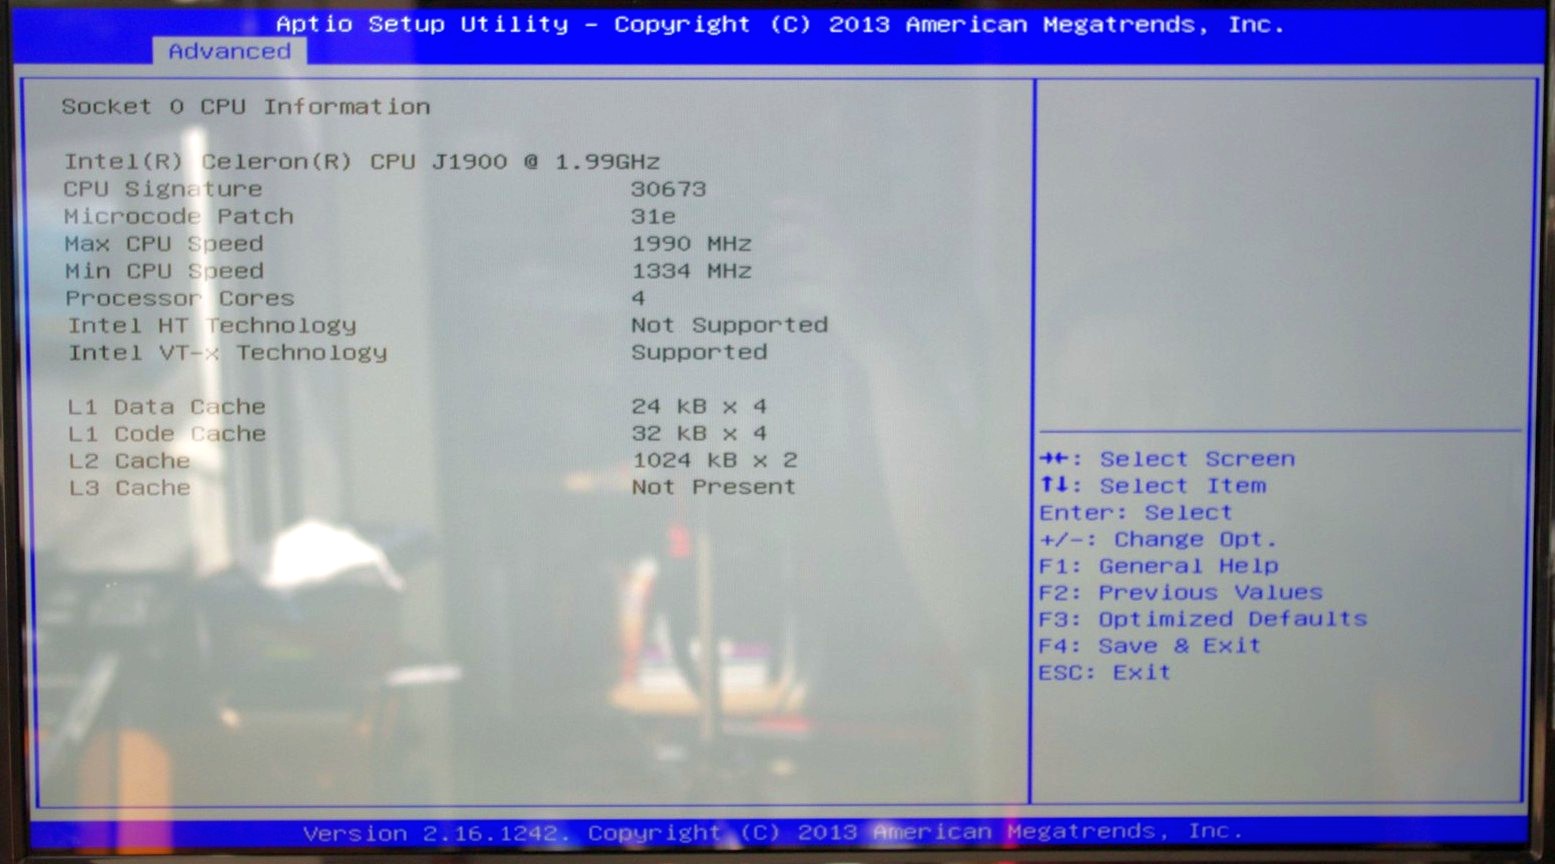
This shows that we are dealing with a Celeron J1900 at 2.0 GHz with four cores and an idle frequency of 1333 MHz. While HyperThreading is not present, VT-x is.
The PPM Configuration menu hides the C-State options which we would normally find in a power options type menu:

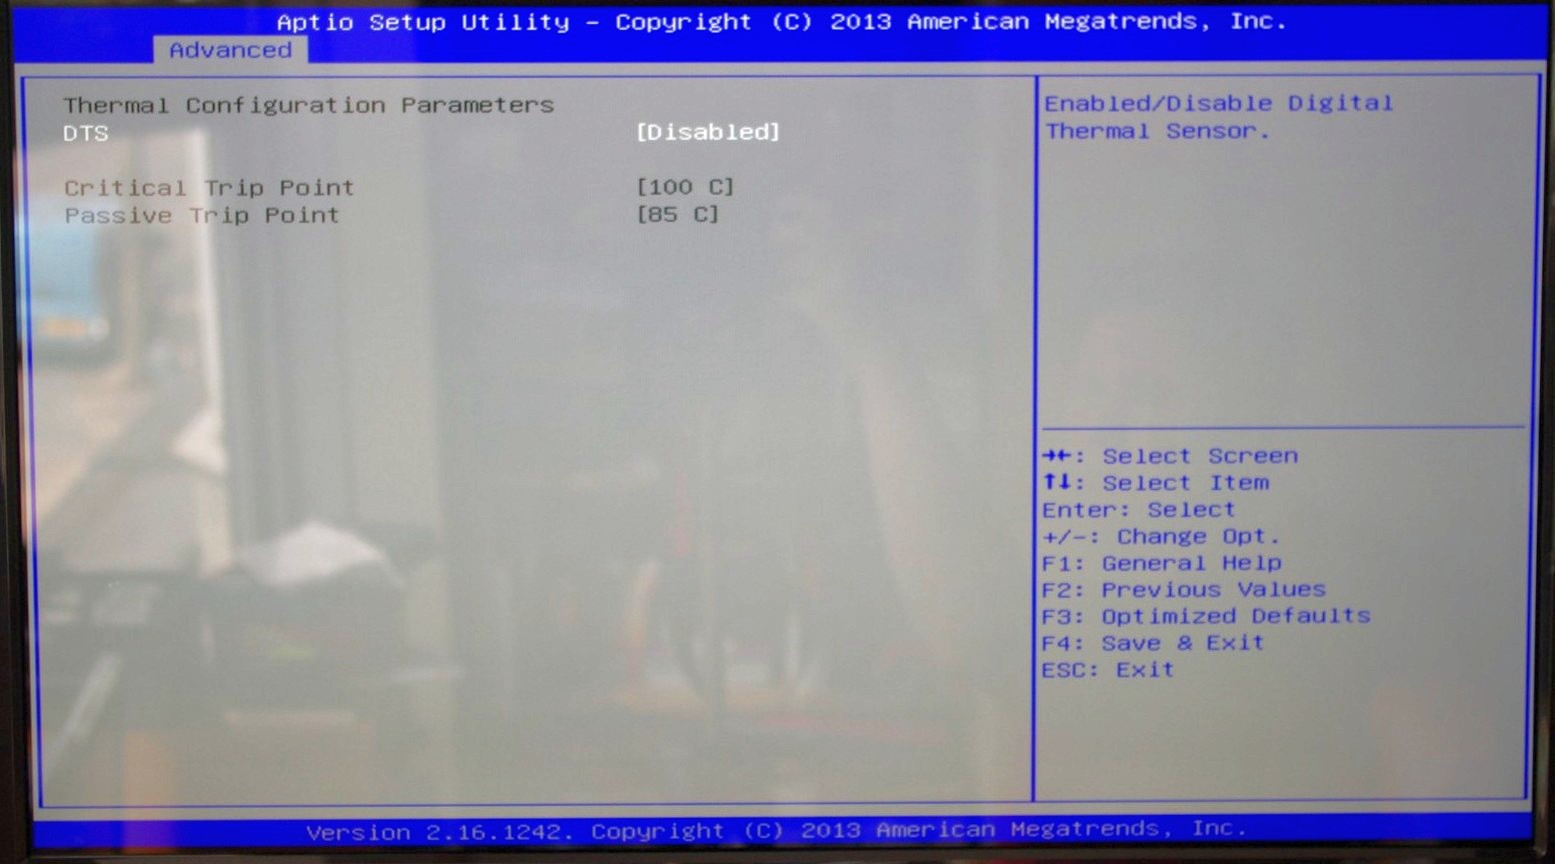
Users can determine the thermal configuration for the system, giving strict guidelines for temperature limits before shutdown. This will be relevant to users wanting this platform in a 24/7 embedded scenario:
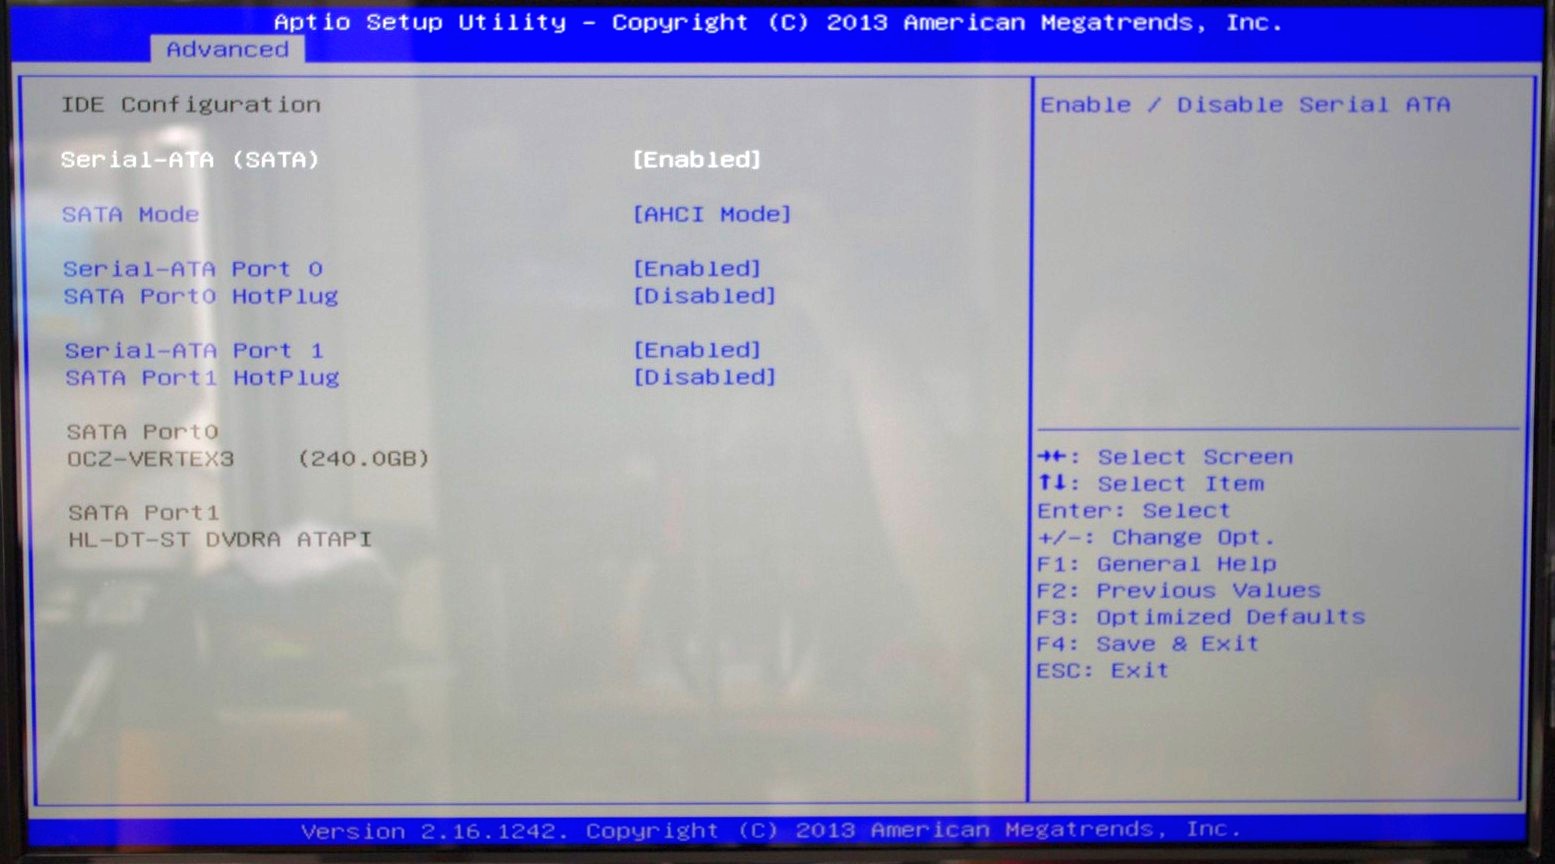
The two SATA ports are set for AHCI mode by default, although Hot Plug needs to be enabled.
Because this BIOS is an EFI based platform, fast boot options for Windows 8 and other supported OSes are present:

The Chipset Tab gives options for what is listed as the North and South Bridge although these are technically integrated into the SoC. The North Bridge menu controls the memory and integrated graphics, although both are limited in options:
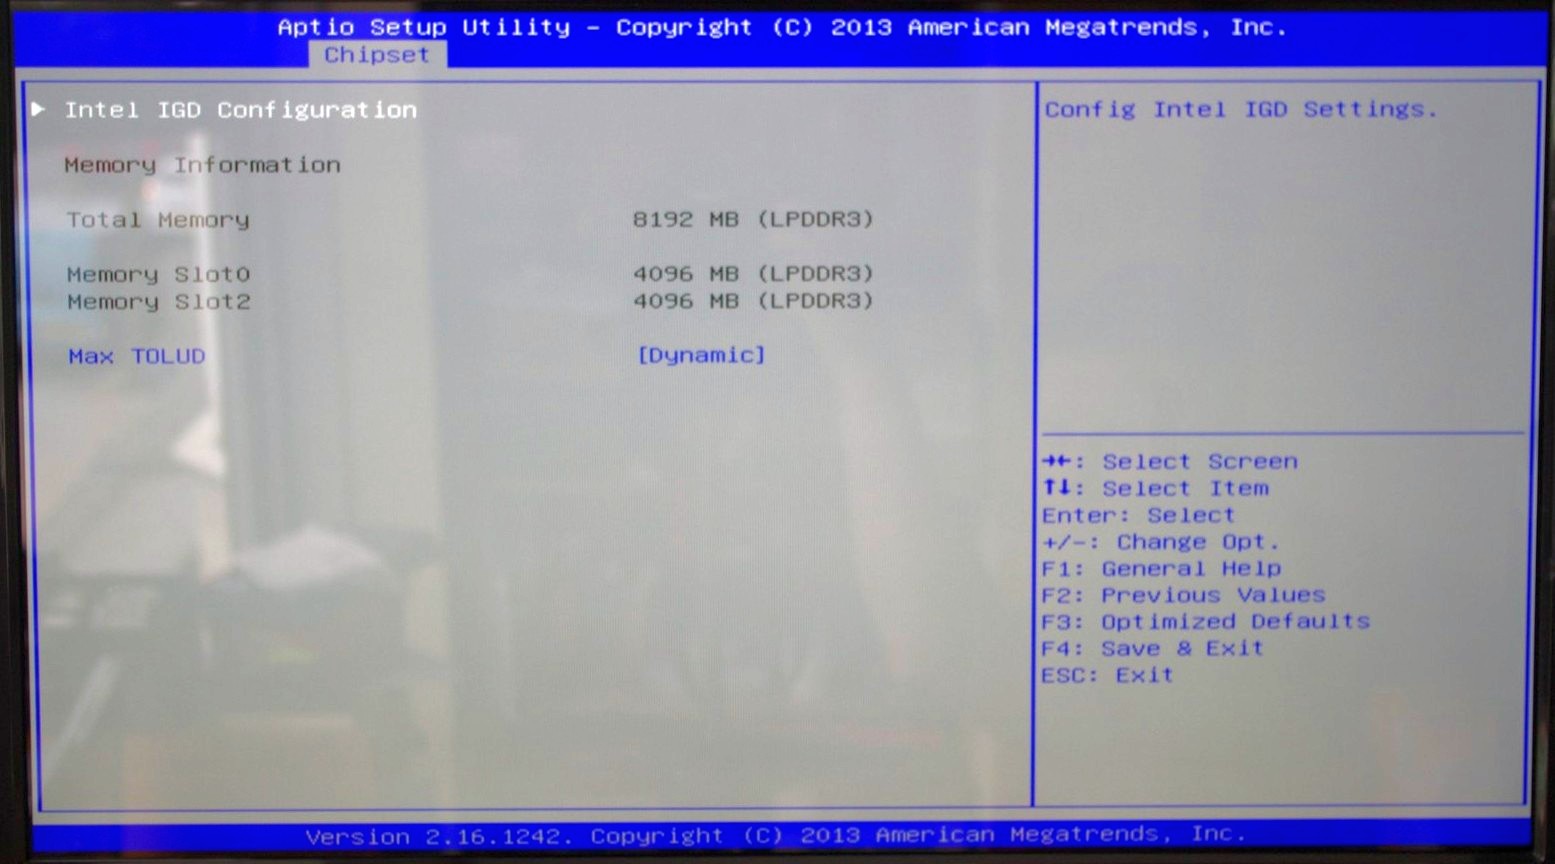
There is no room to adjust the DRAM frequency or sub-timings here.
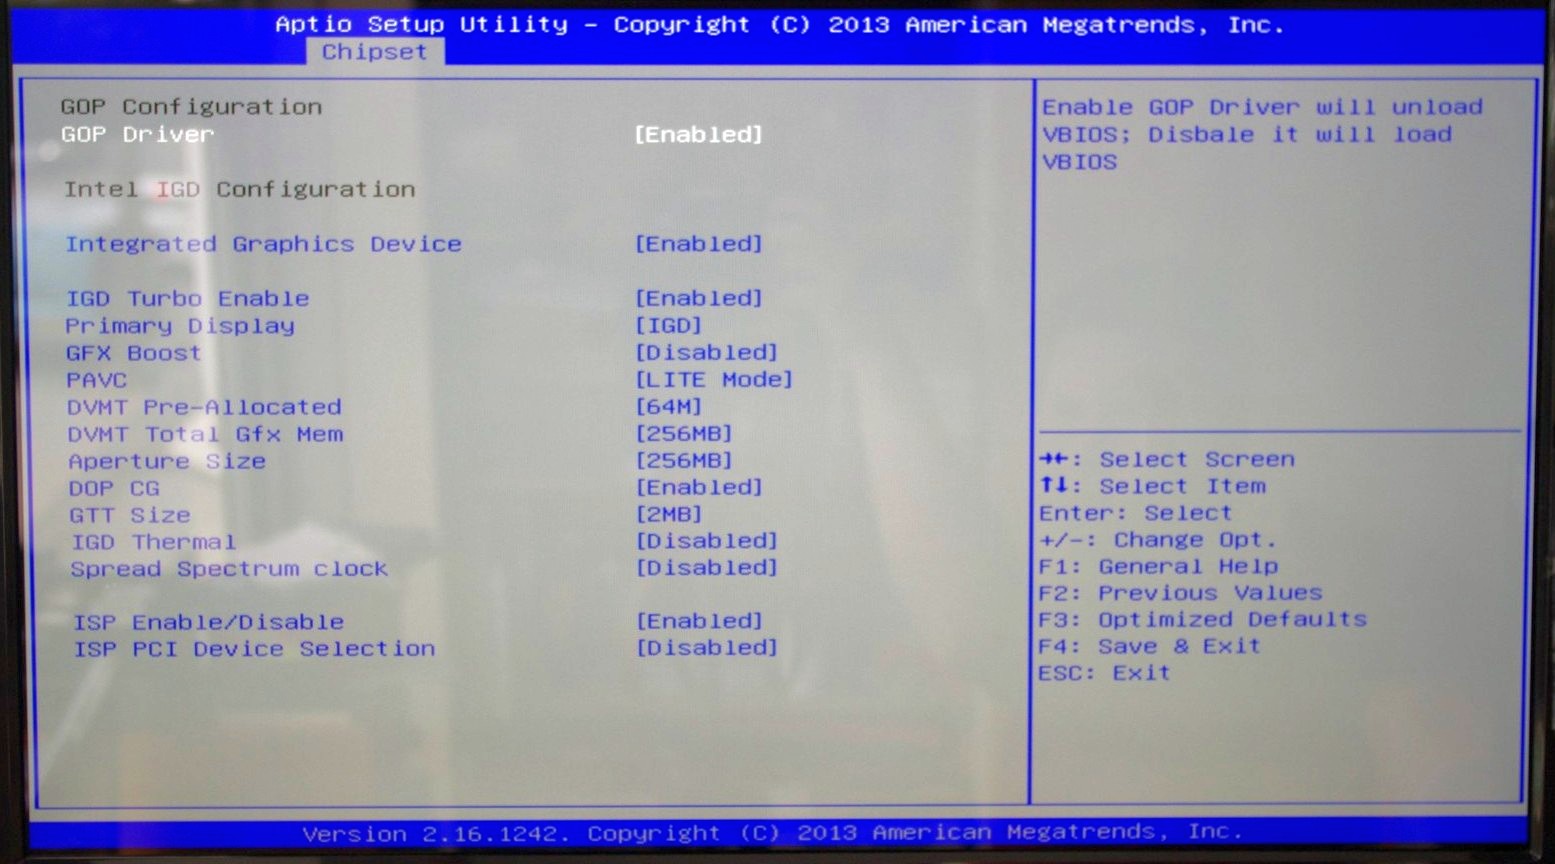
The integrated graphics options are a little more varied, allowing users to adjust the size of the memory or apply a ‘GFX Boost’, although some of these options make little sense outside the engineering lab.
The South Bridge menu option offers options for the functionality that comes from the ‘chipset’ part of the SoC:
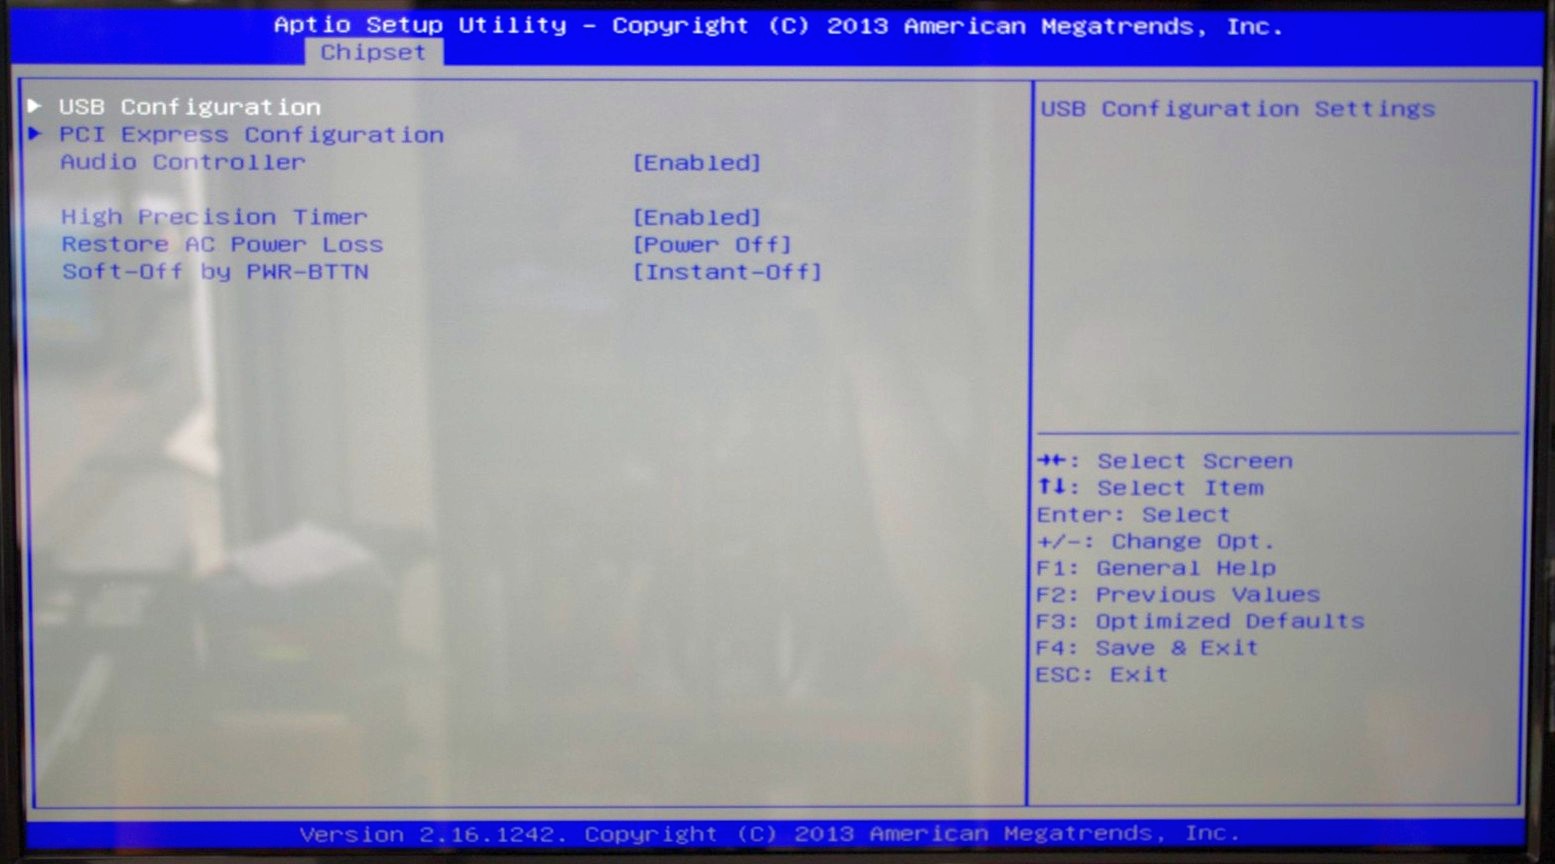
Here is the audio controller, with the USB and PCIe configuration options.
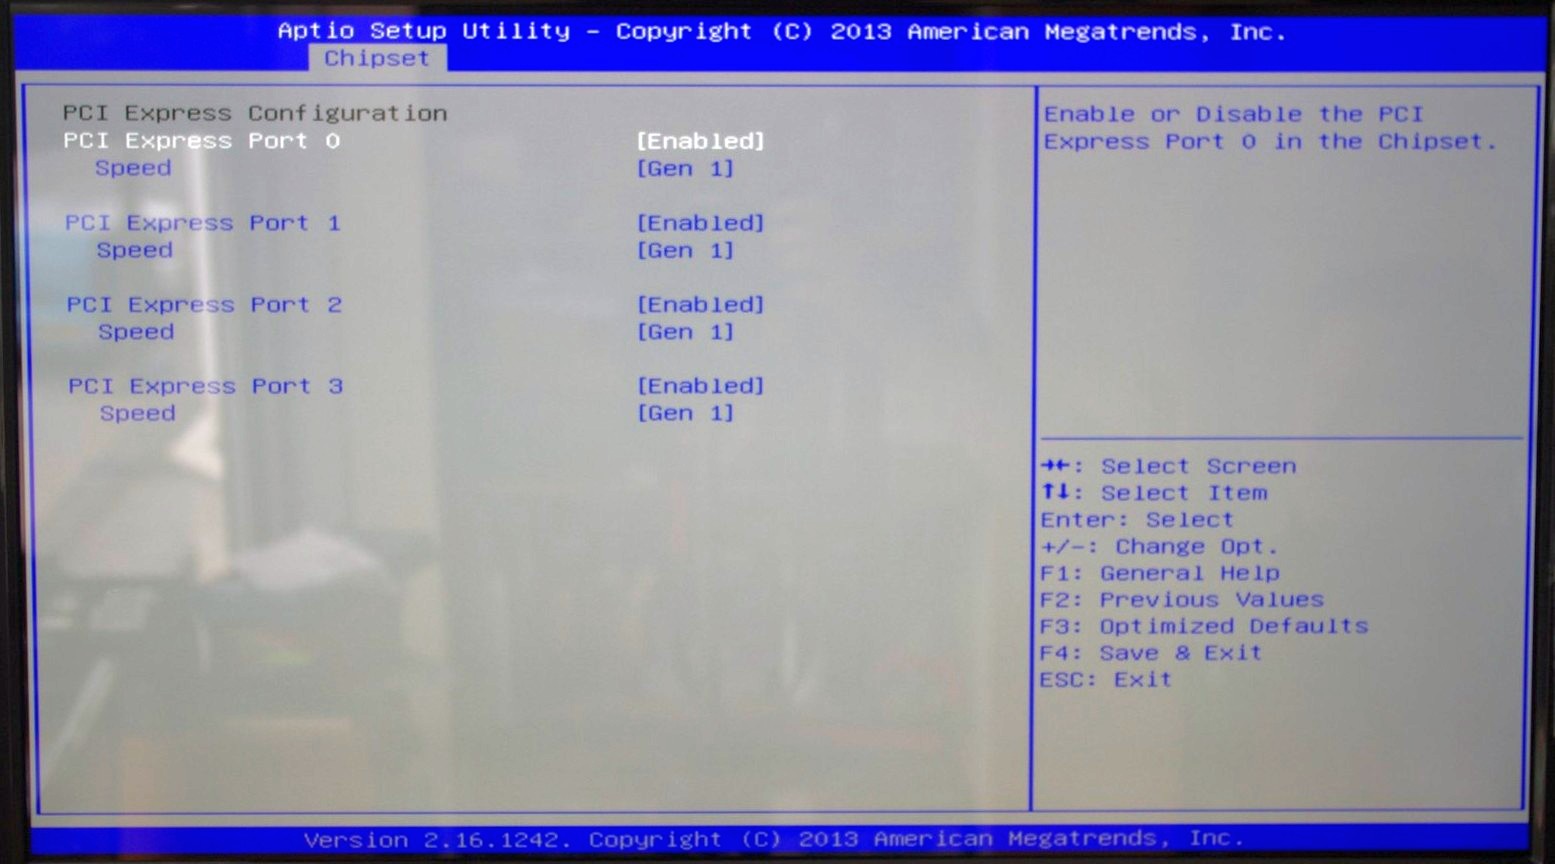
It is interesting to show the four PCIe lanes offered, although it would have been handy if each of these showed what was connected – either the NICs, the PCIe to PCI bridge or the mini-PCIe slot.
The rest of the BIOS offers basic boot section options and security. There is a Boot Override function as well, but what is missing is an ‘Update BIOS’ option from within the BIOS. This has to be done via an OS or command-line bootable USB instead.


Software
While GIGABYTE did not update the BIOS to a newer version, we do get the latest version of GIGABYTE’s APP Center to play with. Unfortunately, most of what APP Center is designed for does not aim at the Bay Trail-D platform, and as such we are limited in what it offers.
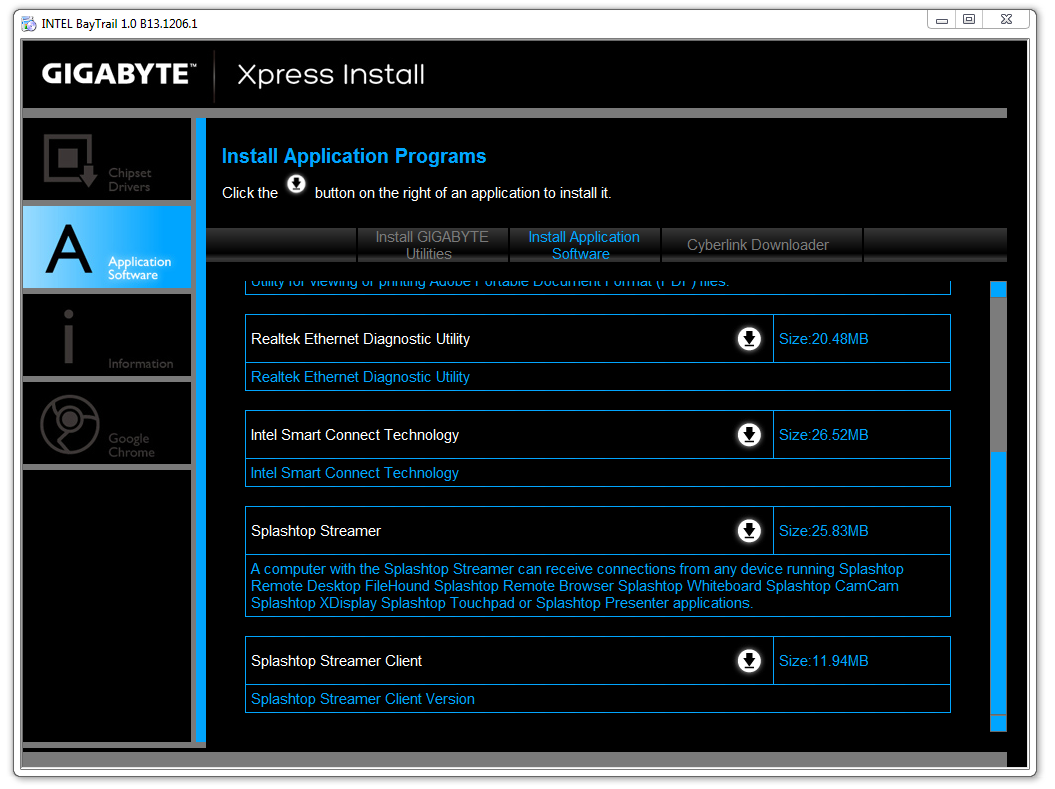
Firstly the driver disk gives the regular set of options for chipset drivers and application software:
This installs APP Center, which offers only @BIOS and Live Update.

At the time of testing, Live Update offered no new updates to the system and the software is programmed to only display a message box when that is the case.
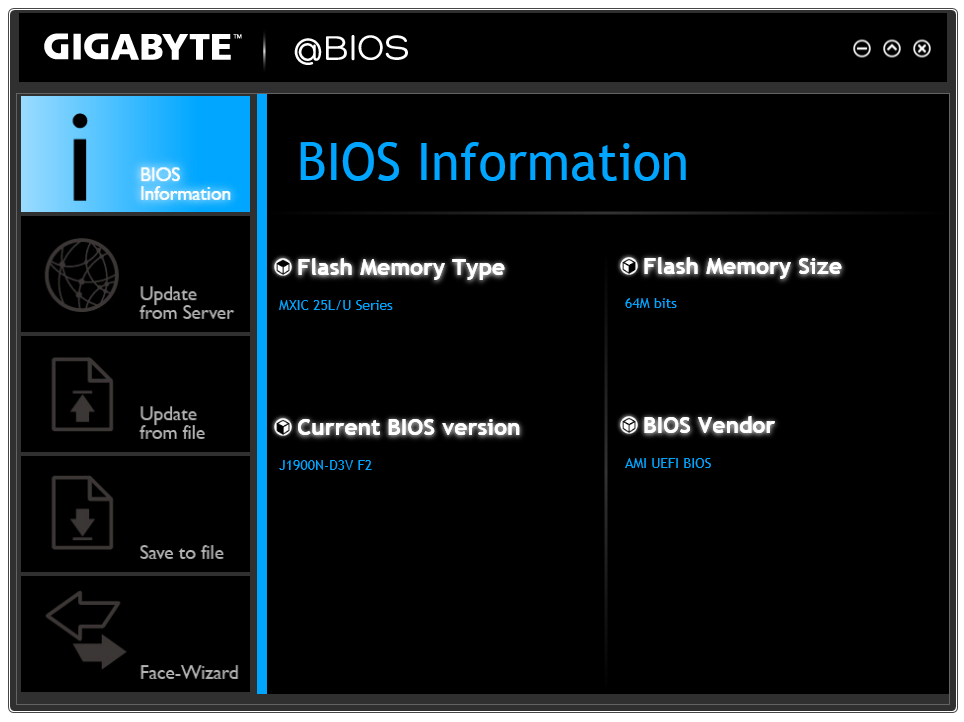
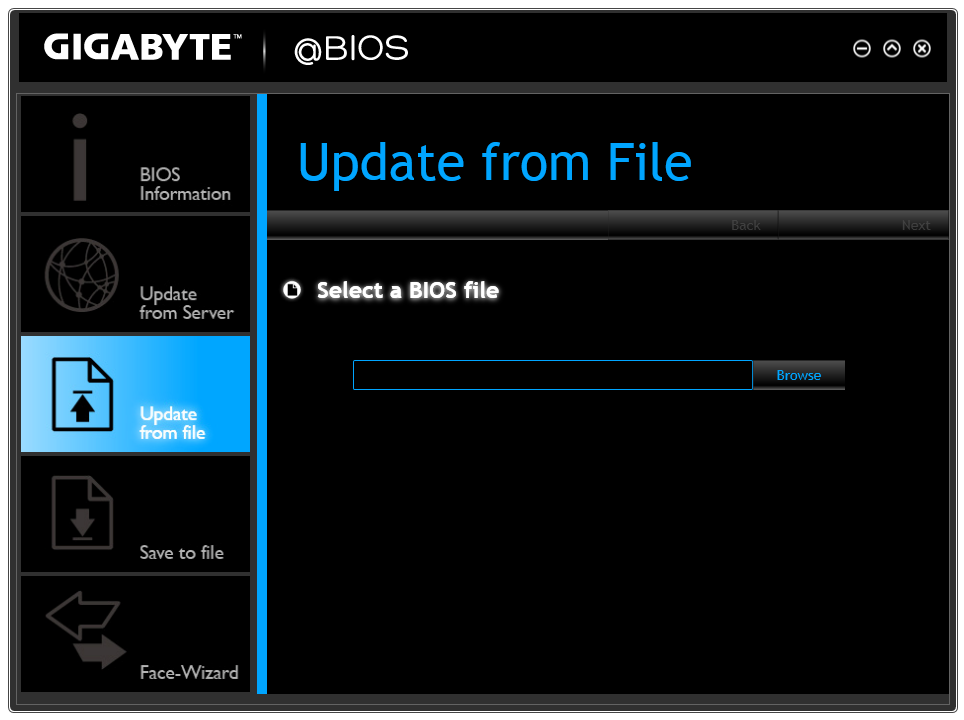
@BIOS gets the full works, offering information about the BIOS as well as options to update from the Server:

Or from a file:
Face Wizard also allows the user to adjust the image during POST.
It is interesting that despite the fan headers on the motherboard, neither the BIOS nor the Software offers any form of fan control. This would have been great as part of the software, along with some of the other options from GIGABYTE: Fast Boot, System Information Viewer, TimeLock and so on.


60 Comments
View All Comments
HiTechObsessed - Friday, October 17, 2014 - link
Should be a big hit with console users. That lower frame-rate for gaming should be super-cinematic then!XZerg - Friday, October 17, 2014 - link
The power consumption delta is something I do not like. I rather see the idle and load instead. The idle tells me how much my "nas/htpc" system will consume while doing nothing. the load tells me what is the absolute worse it will consume. this allows me to weigh the options better on power consumption basis, not the delta as that's not what is going to matter when the system is going to be idling for prolonged periods.looncraz - Friday, October 17, 2014 - link
+1In this light, one extra watt for the faster performing (barely, but true, and much more so in gaming) 25W AMD option looks to be the real winner. Cheaper, only an extra watt of power used (in the delta measure anyway), etc... But, in the real world, the AMD may idle at 16W and the intel will idle at 8W... which may matter if planning on running multiple systems and using UPS protection such as in an office/school/government environment.
jospoortvliet - Friday, October 17, 2014 - link
Good news is that most reviews I've seen put the AMD at a lower idle power than the Intel. The total load is closer than the difference graph makes it look, no idea why those are used...maco - Friday, October 17, 2014 - link
Agreed, I'd like to see idle and load graphs too. I tend to leave a computer on doing light server tasks, so idle power is an important metric for me.danzig - Saturday, October 18, 2014 - link
Same here concerning the power graphs. If there is a revision or edit of the page, could you please put more power consumption info up, if you have the data?KWIE - Monday, October 20, 2014 - link
I use mine as a NAS also, with FreeNAS/Plex. I haven't clocked it yet higher than 19W.Guspaz - Monday, October 20, 2014 - link
Agreed the delta numbers are useless. A system with an idle/load power consumption of 10W/20W would show up the same in the chart as a system with an idle/load power consumption of 500/510W, as admittedly contrived as that scenario is. But something like 10/20 versus 20/30 isn't so crazy.Guspaz - Monday, October 20, 2014 - link
Also, the graph says "lower is better", but that's not true at all. Given two processors with equal load power draw, the processor with the lower idle power draw "wins" that benchmark, but that means you want the processor with the *BIGGER* delta, not the smaller delta!AJSB - Friday, October 17, 2014 - link
AMD AM1 APUs based on Kabini simply CRUSH these abortions as for light gaming goes (and BTW, 1280x1024 is near 30% more pixels than of a 1366x768 monitor)....wait for AMD Beema AM1 ;)